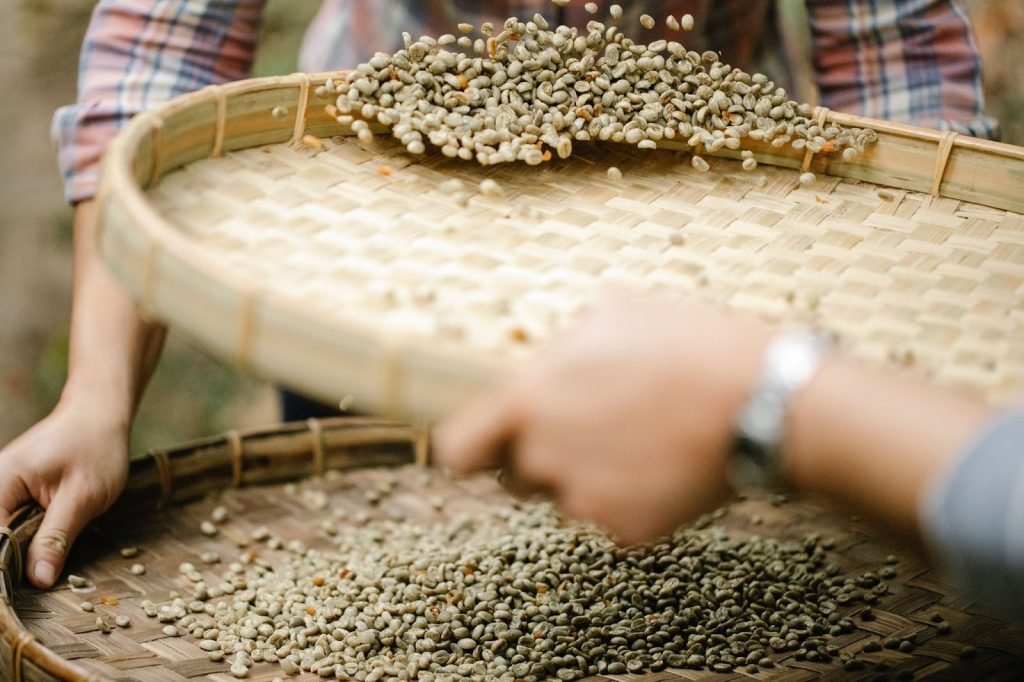
Latte art also known as latte art, is the art of embellishing coffee drinks by creating beautiful designs or patterns on the surface of espresso-based coffee cups coated with milk foam. Although latte art feels very contemporary, its history has involved an interesting evolution. Choosing high-quality coffee beans and milk is an important step in the guide to making delicious and beautiful latte art coffee. Here is a simple guide to choosing the right ingredients:
Selecting Coffee Beans
- Origin and Variety
Choose coffee beans from a specific country or region known for high-quality coffee, such as Ethiopia, Colombia or Brazil. Know your preferred bean variety, such as Arabica or Robusta, as this affects the flavor and aroma.
- Freshness
Choose fresh coffee beans. Avoid beans that have been stored for too long or have been ground for a long time. Fresh coffee beans will give a more complex and rich flavor.
- Roast Level
Decide on the roast level you want, whether light, medium, or dark roast. Light roasts often provide a more complex flavor profile, while dark roasts have a stronger taste.
- Single Origin vs. Blend
You can choose single origin coffee beans to taste the unique characteristics of a particular region. If you like a variety of flavors, try blended beans made up of several different coffee origins.
Choosing Milk
- Type of Milk
The types of milk suitable for latte art usually have enough fat content to produce a thick and creamy foam. Here are some types of milk commonly used in latte art, including the introduction of alternative milks suitable for people who do not consume animal milk products.
- Frothing
Make sure the milk can produce a thick and creamy foam. A good milk for latte art will produce a smooth and durable foam, allowing for the formation of well-detailed designs.
- Organic or Non-Organic
You can also choose between organic and non-organic milk, depending on your preferences and values.
By paying attention to the quality of the coffee beans and milk, you create a good foundation for beautiful latte art. In addition, exploring and trying different types of coffee beans and milk can help you find the combination you like best to create the perfect coffee latte art.
Manufacturing Technique
When it comes to latte art, there are several key techniques used by baristas to create beautiful and complex designs on the surface of latte drinks. Here are some common techniques used in latte art:
1. Pouring
– Pouring in the Center
The barista starts pouring milk into the center of the cup in a slow motion, creating the base for the latte art design.
– Side Pouring
The barista moves the milk pitcher to the side of the cup and pours the milk in a circular or zigzag motion to create a leaf-design or floral design.
2. Wiggling
The barista makes a wave motion with the milk pitcher while pouring, creating a floral or leaf-shaped latte art design with rippled edges.
3. Drawing (Menggambar)
Using a toothpick or other latte art tool, the barista creates a design on the surface of the latte by drawing on it. This technique allows for the creation of more complex and detailed designs.
4. Etching (Mengukir)
After pouring the milk and creating the design, the barista uses delicate tools such as toothpicks or specialized tools to carve or shape the latte art design with further details.
5. Layering
By adjusting the milk froth level, baristas can create a layer effect within the latte art design, adding visual dimension to the created image.
6. Negative Space
The barista utilizes the negative space (empty area) on the surface of the latte to create a design by exposing the cup in parts, creating an interesting visual contrast.
7. Free Pouring (Pouring Bebas)
Highly skilled baristas can create intricate latte art designs just by pouring milk, without using any additional tools. They use the precise movement of the pitcher to create complex designs such as animals, characters, or other shapes.
Tips & Tricks
Here are some guidelines to help you avoid latte art failure:
1. Use High Quality Espresso and Milk
Make sure you use high-quality coffee beans for espresso and good fresh milk for frothing. The quality of the base ingredients greatly affects the final latte art result.
2. Choose Milk with the Right Texture
Well-frothed milk, with a thick and creamy texture, is easier to control when pouring. Use fresh milk and heat it to an ideal temperature of around 60-70°C.
3. Note the Proportion of Espresso and Milk
Make sure you have a balanced proportion of espresso and milk in the cup. Too strong espresso or too much milk can make pouring difficult to control.
4. Hold the Milk Pitcher Correctly
Hold the milk pitcher with a steady hand and ensure a consistent pouring angle. The stability and precision of your hand movements while pouring play a big role in shaping the design.
5. Control Pouring Speed and Height
Control the pouring speed by paying attention to the pressure on the milk pitcher. Movement that is too fast or too slow can affect the design. In addition, control of the pouring height is also important; pouring from different heights can create interesting visual effects.
6. Experimentation with Basic Techniques
Practice basic latte art techniques such as center pouring, side pouring, and drawing with a toothpick. Experiment with simple shapes and designs before attempting more complex designs.
7. Learn Advanced Techniques
After mastering the basic techniques, learn advanced techniques such as layering, negative space and free pouring to create more complex and creative designs.
8. Be Patient and Persevere
Latte art requires patience and perseverance. Don’t get frustrated if the results aren’t perfect at first. Keep practicing, identify areas that need improvement, and don’t be afraid to try new designs.
Conclusion
By paying attention to these guidelines, you’ll increase the likelihood of creating stunning latte art. Remember that latte art takes time and patience to fully master, so don’t hesitate to keep practicing and experimenting. You can explore shapes in your latte art here.


